Getting started with Vue.JS – Step by Step
Step by Step guide to get started in Vue.js
Vue.JS is no. 1 trending Frontend technology on Github. I have been programming in Vue.JS for more than a year now.
In this post, I will guide you on how to get started with Vue.JS
What exactly is VueJS
In simplest words, Vue.JS is a frontend library to build Javascript applications. It helps you to build the frontend of web-apps. You can build a wide range of apps using Vue.JS from your next side-project to an enterprise-grade app using Vue.JS.
Prerequisites
Before getting started with Vue.JS, you should have Node.JS and NPM installed on your machine. Also, you should know the basics of HTML, CSS, and Javascript to get started with Vue.JS.
You don’t need to be a Javascript Ninja before jumping on to Vue.
First Vue App
Vue is designed to be incrementally adoptable. It means you can use it in any frontend app you have currently.
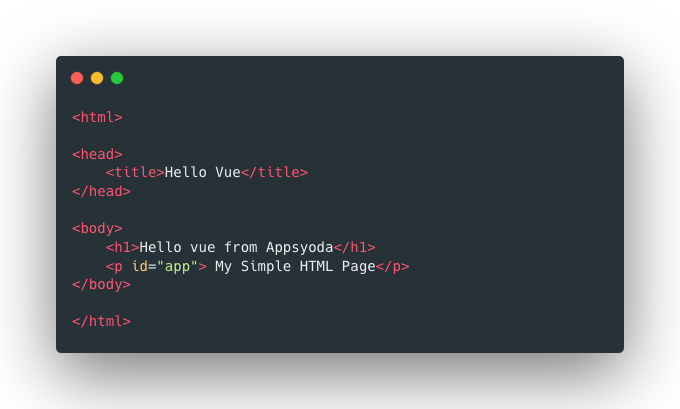
Step 1: Write HTML Markup
Write a basic HTML page where you want to attach the Vue Instance (Vue Instance is essentially a Vue App)
Step 2: Add Vue.JS from CDN
Now you need to include Vue.JS from CDN.
You just include this line inside the head tag.
<script src="https://cdn.jsdelivr.net/npm/vue/dist/vue.js"></script>
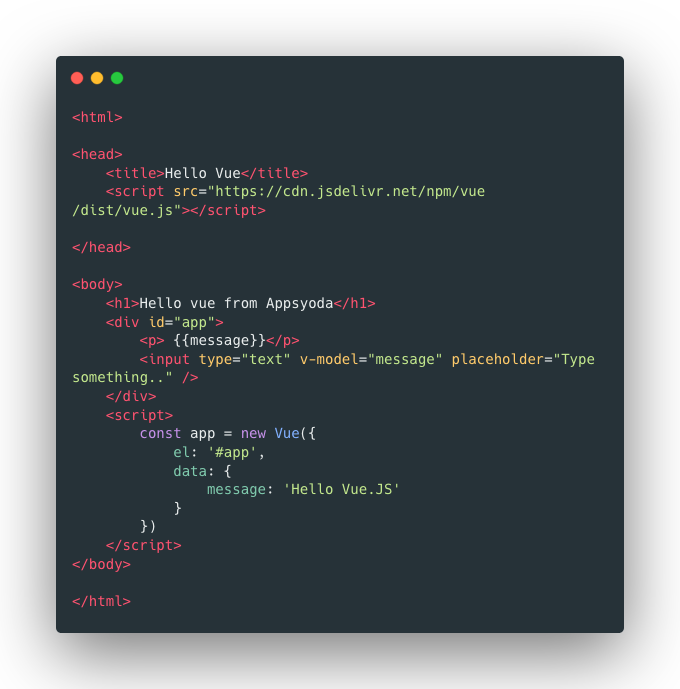
Step 3: Add Vue Instance
The next step is to initiate a Vue Instance using the new Vue. Here is how you do it.

Here you see the Vue constructor takes an object as a parameter. We have passed 2 properties to that object:
-
el: HTML id of the element where you want to inject the Vue App.
-
data: JSON Object which can be used as the Model/Data of the app. This is optional.
Step 4: Check 2-way data binding.
If you are from Angular Background or React.JS background, then you might be familiar with the concept.
If you are not, then in simple words, 2-way data binding is the way there is communication between the model (data object) and the view template (HTML element with id app)
Now, let’s add a property called message to the data object and print it in paragraph tag inside the HTML.
You can access the data’s properties using double curly braces syntax (i.e. {{message}} to access data.message).
Please check this code

You’ll probably see output like this
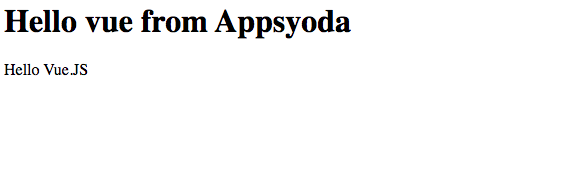
It means, everything is set up and your first Vue app is working.
Please reach out to me if you are stuck somewhere.
Make sure you follow the steps closely.
Step 5: Add Input element and v-model
Now let’s try to make things a little more interesting. Let’s add an input field and bind that with message property. Here’s what you need to add in place of an earlier paragraph tag.
<div id="app">
    <p> {{message}}</p>
    <input type="text" v-model="message" placeholder="Type something.." />
</div>
Here I have created a simple div and made it as a root of the Vue app (by assigning it id=” app”).
Also, I have added the message in a `
' tag.
Then I have added an input field of type text.
The most interesting addition is the v-model. This is the way to bind the value of input property with the model object (data object).
Here is the new complete code:
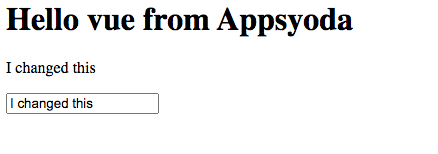
Now try and change the value of the text field.
Here is my output.
Getting Started using CLI
Once you are up and running with some basic syntax of VueJS. You can start the real-world projects using Vue’s Official CLI. In this section, you will be introduced to some more advanced
Here are the steps you would need to follow.
Step 1: Install Vue CLI
This is straight from Vue CLI’s official document.
npm install -g @vue/cli @vue/cli-service-global

# or
yarn global add @vue/cli @vue/cli-service-global
Step 2: Create a Vue Project
Once you have vue-cli installed then you can run the following command to initiate the brand new Vue project
vue create my-first-app
This will ask you a series of questions about your config choices. You can choose default for now.
Next, it will ask you to choose a dependency manager. You can pick either of the 2. Both are good, but I prefer npm.

After this, vue-cli will initiate and install the dependencies.
Step 3: Run the project
Next just cd into the directory and run the project. You will get these instructions on CLI as well.
cd my-first-app && npm run serve
After the build completes you can view your starter project in your browser at URL https://localhost:8080
Step 4: Inspect the bootstrapped code
Next, I would suggest you open this directory in your favorite code editor. Mine is Visual Studio Code 🙂
I insist you understand the code of the following files.
i) public/index.html
ii) src/main.js
iii) src/App.vue
iv) src/components/HelloWorld.vue
Just play with the code and try to understand the basic structure. I would write more posts on this.
Conclusion
I have written this post for a complete newbie by removing most of the complexities. If you face any issue till now then please comment or leave me a Tweet @MohitSehgl
Happy Coding. Keep Shining 🙂

WRITTEN BY
Mohit Sehgal
Want to positively impact the world. Full Stack Developer, MEVN Stack (MongoDB, Express.js, Vue.js, Node.js)